How to Install Ubuntu Server 24.04 on Bare Metal
This guide walks you through installing Ubuntu Server 24.04 on a physical (bare-metal) computer. By the end, you’ll have a fully functional server ready for use with SSH access enabled. No technical experience is needed!
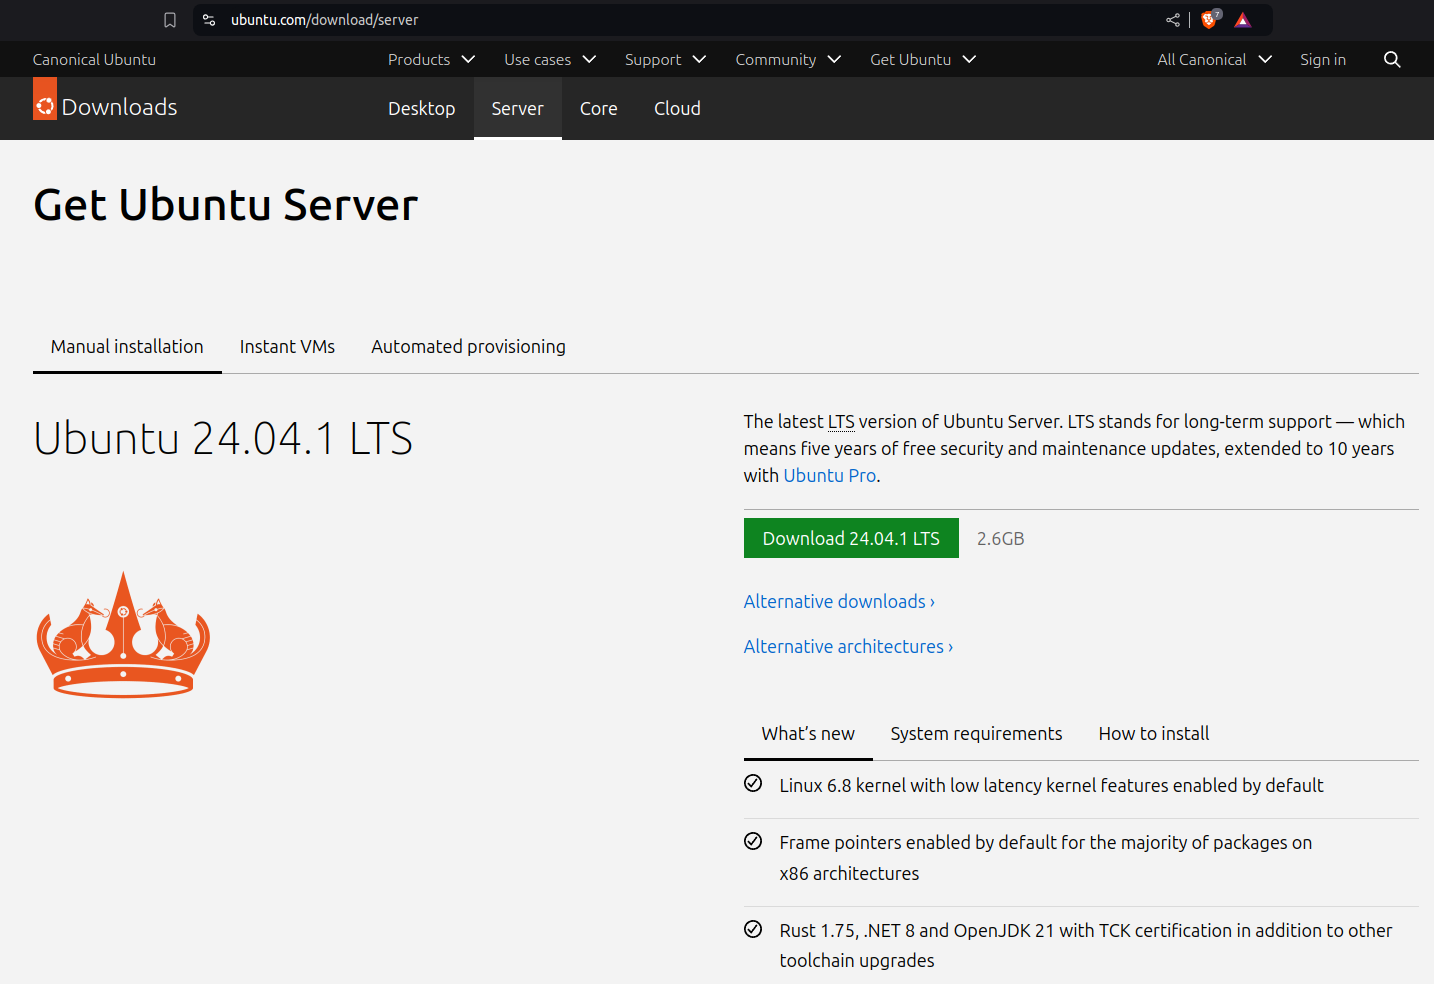
Step 1: Download the Ubuntu Server 24.04 ISO
- Go to the Ubuntu Server download page: https://ubuntu.com/download/server
- Select Ubuntu Server 24.04 and click Download.
- Save the ISO file to a location on your computer where you can easily find it.
Step 2: Prepare a USB Stick with Rufus
We’ll now create a bootable USB drive using Rufus, a free tool that works on Windows.
- Download Rufus from https://rufus.ie.
- Once downloaded, open Rufus.
- Insert a USB drive (at least 8GB) into your computer.
- In Rufus:
- Device: Select your USB drive.
- Boot selection: Choose Disk or ISO image.
- Select: Click the button to locate the Ubuntu Server 24.04 ISO file you downloaded.
- Partition scheme: Select MBR for compatibility with most systems.
- Click Start. Rufus will warn you that all data on the USB will be erased—confirm to proceed.
- Wait for Rufus to finish creating the bootable USB.
Step 3: Boot the Computer from the USB Drive
- Insert the USB stick into the computer where you want to install Ubuntu Server.
- Restart the computer and enter the boot menu (usually by pressing a key like F12, F10, Esc, or Del during startup).
- In the boot menu, select your USB drive as the boot device, then press Enter.
Step 4: Begin Ubuntu Server Installation
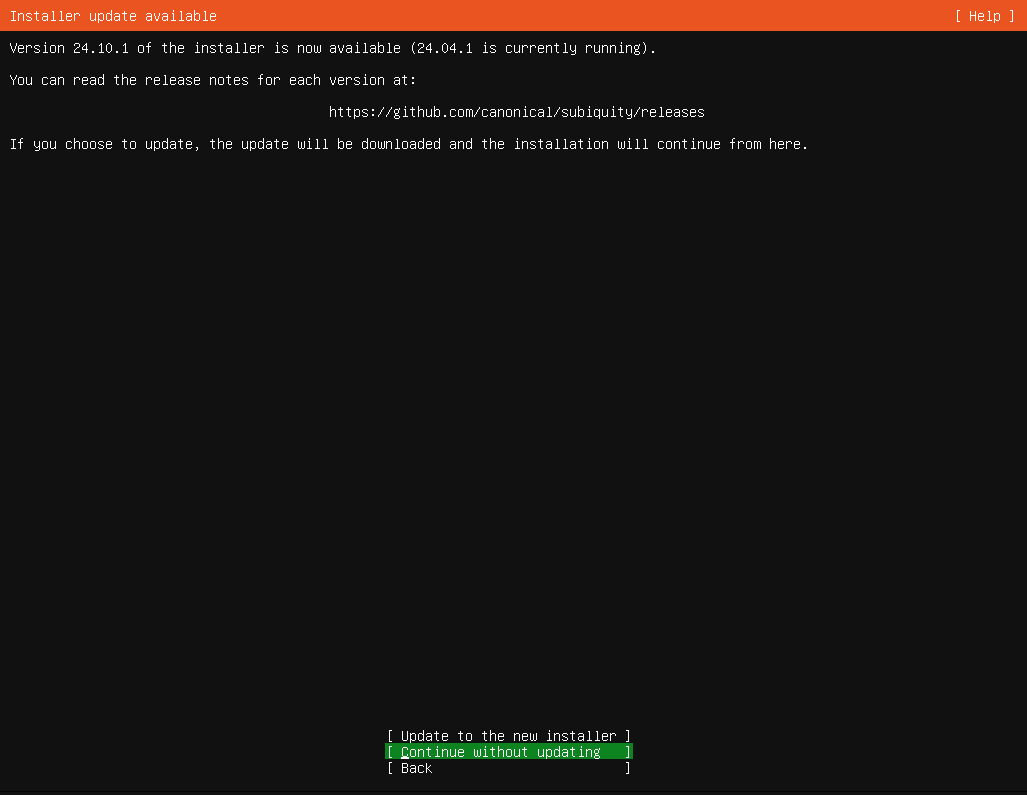
Once the computer starts from the USB drive, you’ll be guided through Ubuntu Server’s installation process.
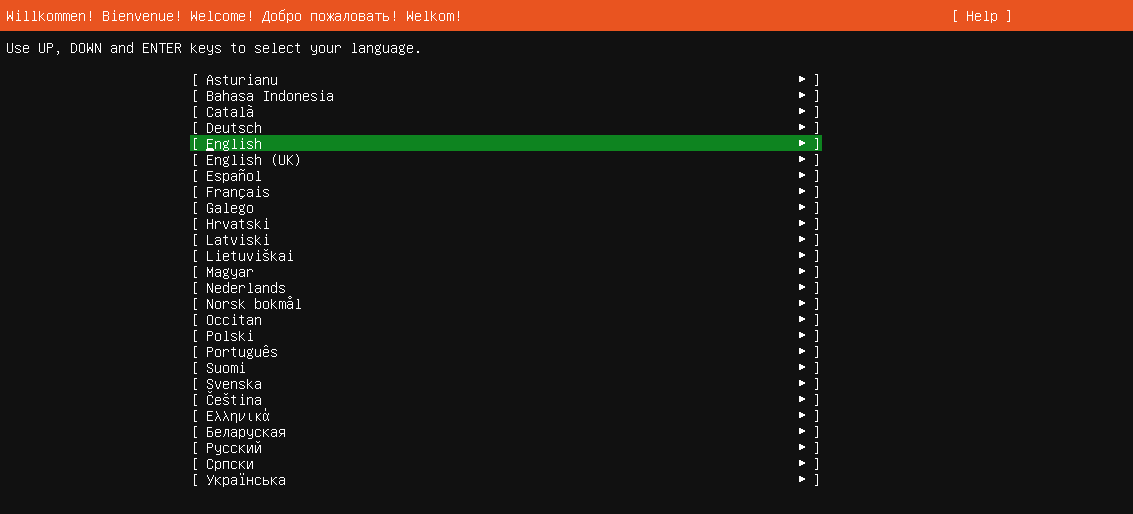
- Select Language: Use the arrow keys to highlight your preferred language, then press Enter.
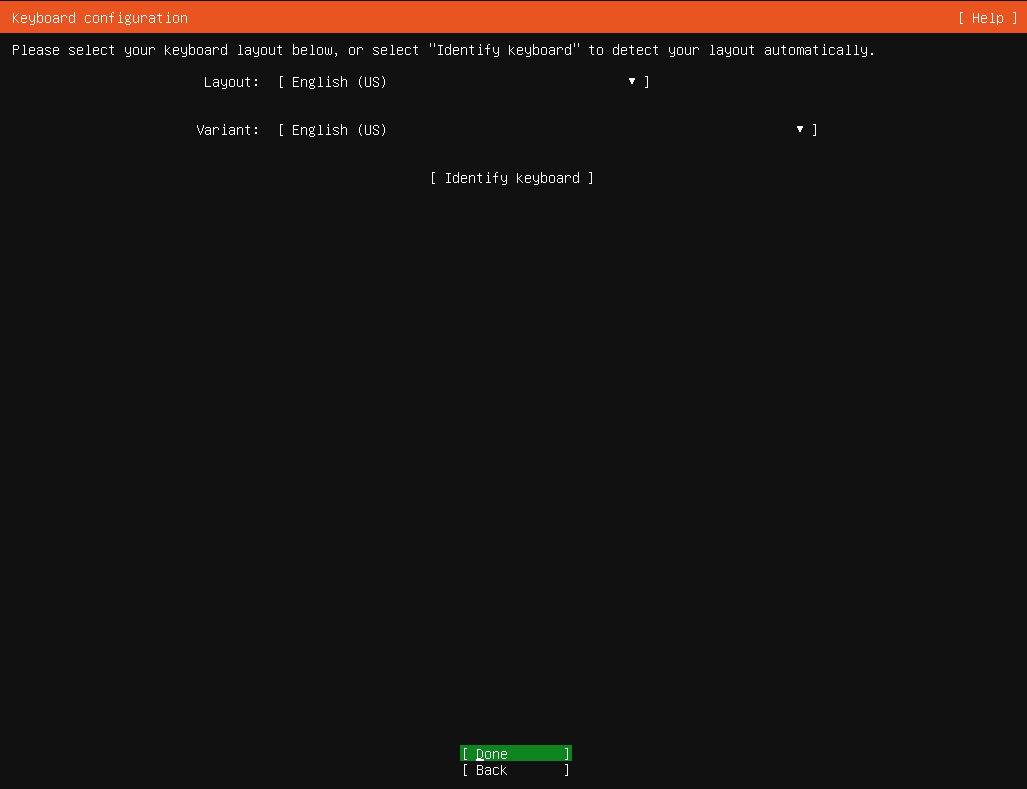
- Select Keyboard Layout: Confirm your keyboard layout, or select Identify keyboard if you’re unsure.
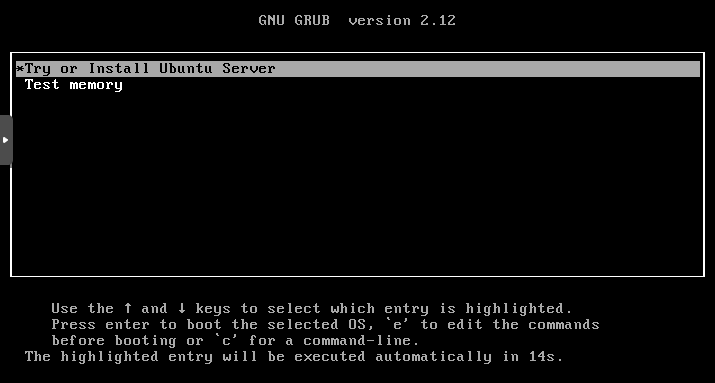
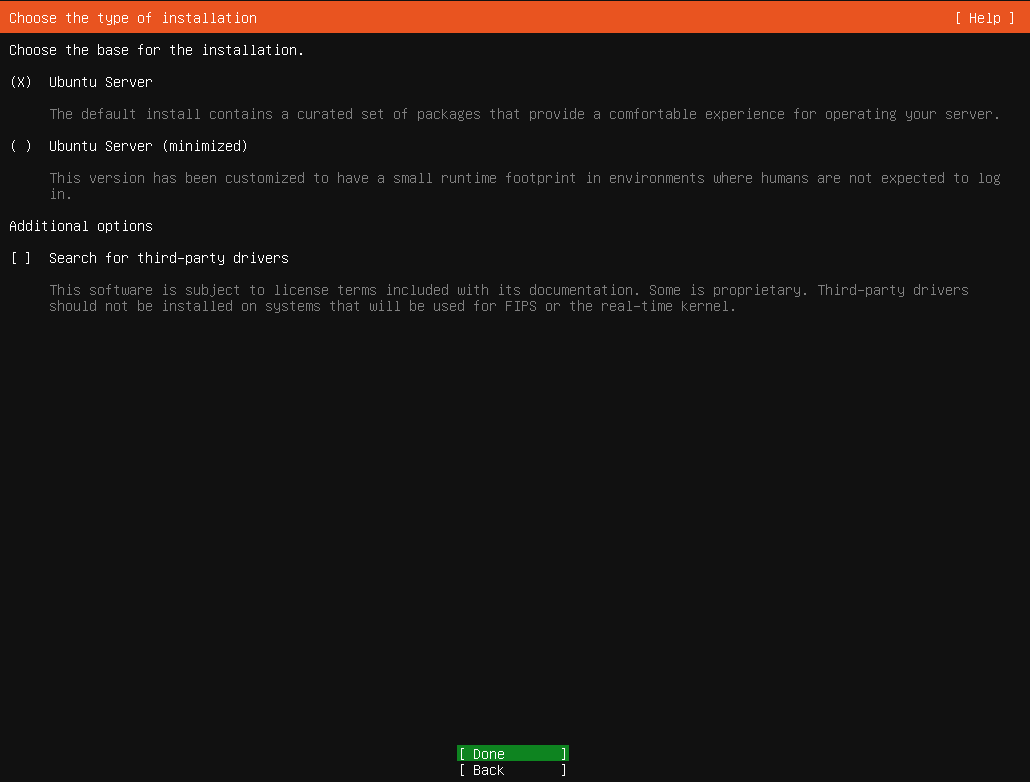
- Select Installation Type: Choose Install Ubuntu Server and press Enter.
Step 5: Network Configuration
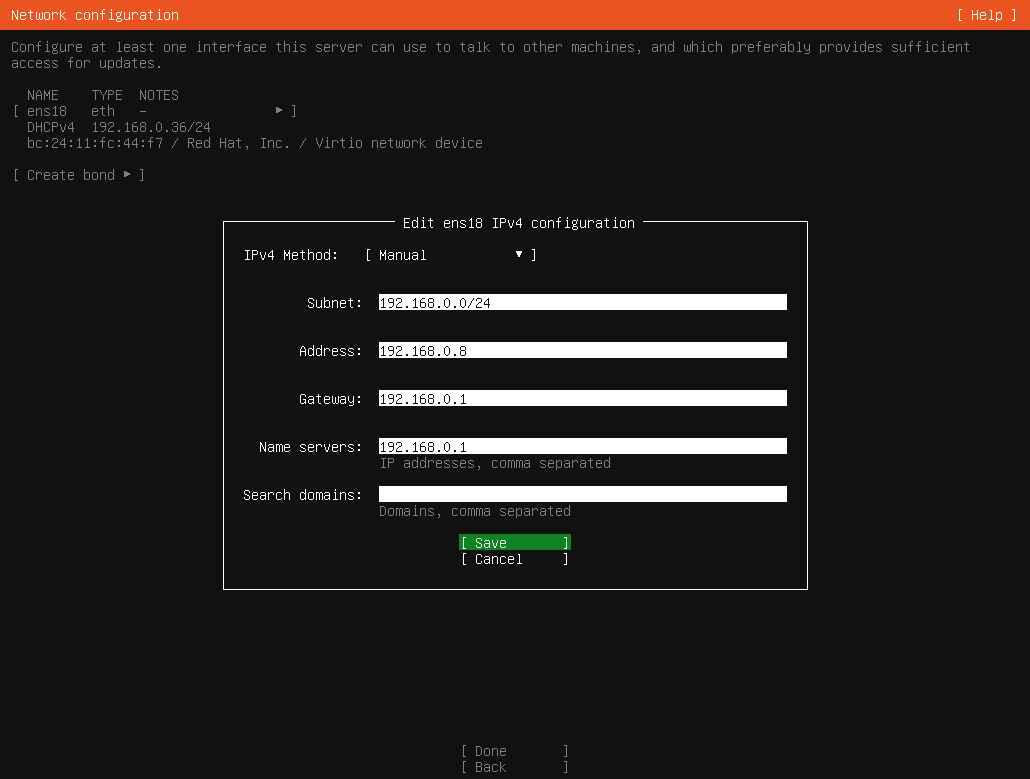
- Network Configuration: Ubuntu will automatically detect network settings if you’re connected via Ethernet.
- For Wi-Fi users: Select Wi-Fi network, enter your network name and password, and press Enter.
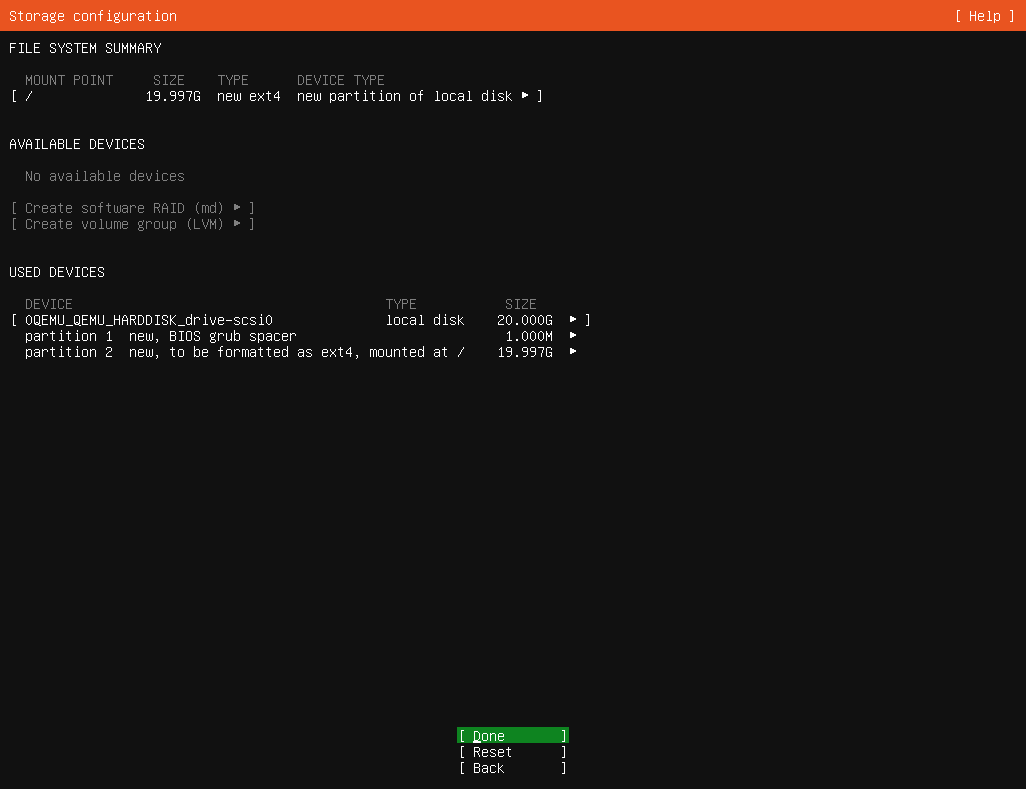
Step 6: Set Up Storage
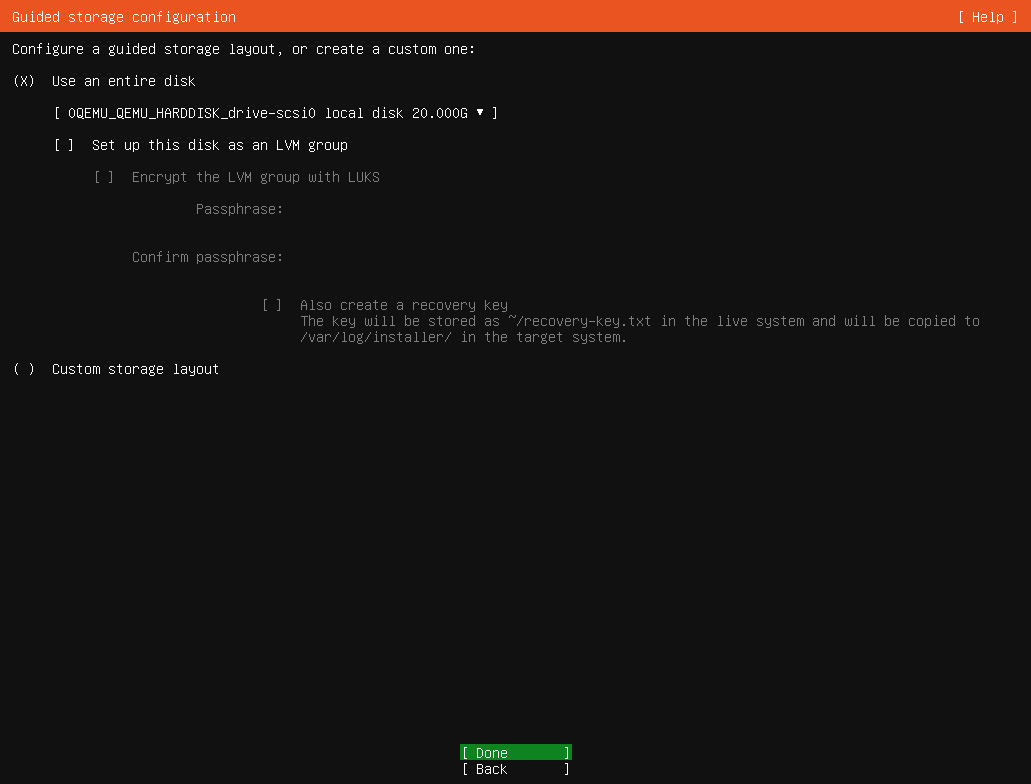
- Choose Use entire disk (automatic partitioning).
- Select your primary hard drive where Ubuntu will be installed.
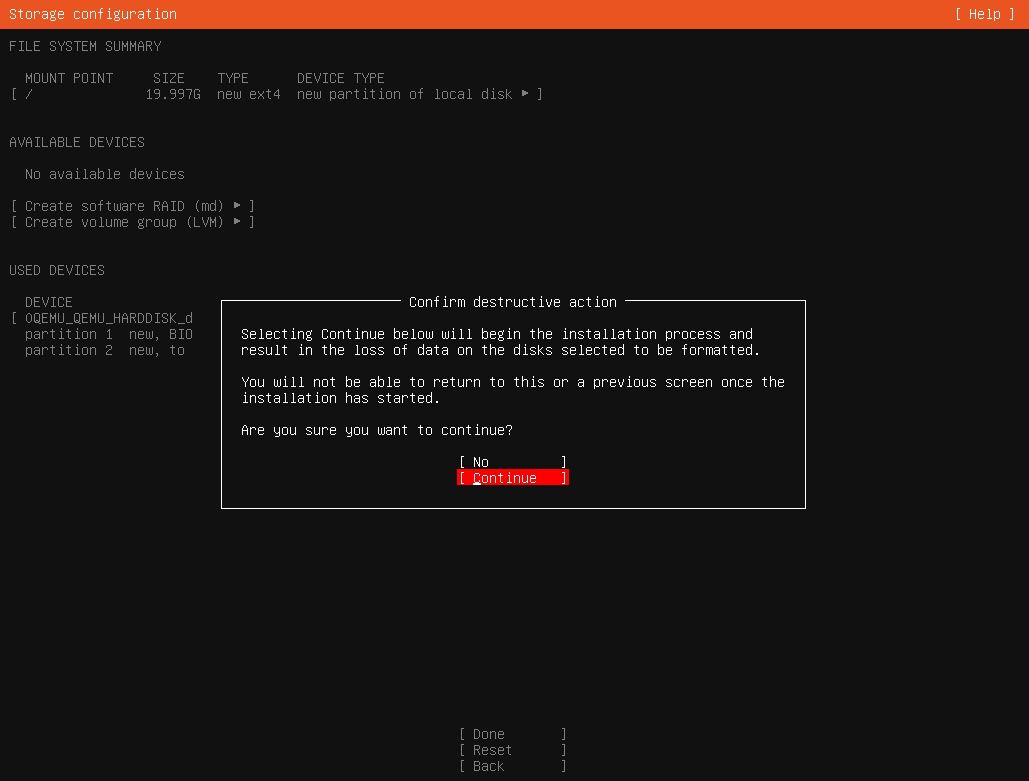
- Confirm the disk layout and select Done.
Step 7: Create a User and Set Hostname
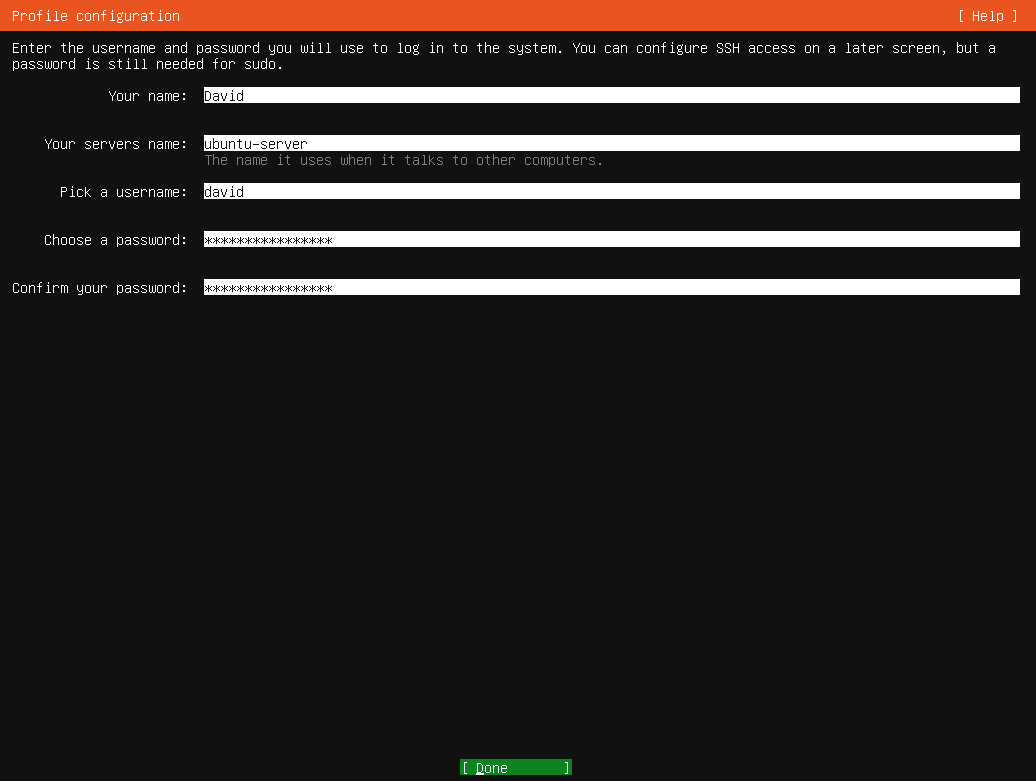
- Set your server’s name (hostname). This name will identify the server on your network. For example, “home-server”.
- Create a user: Enter a username, then choose a password. (Make sure to note these for future access.)
Step 8: Configure SSH (Secure Shell)
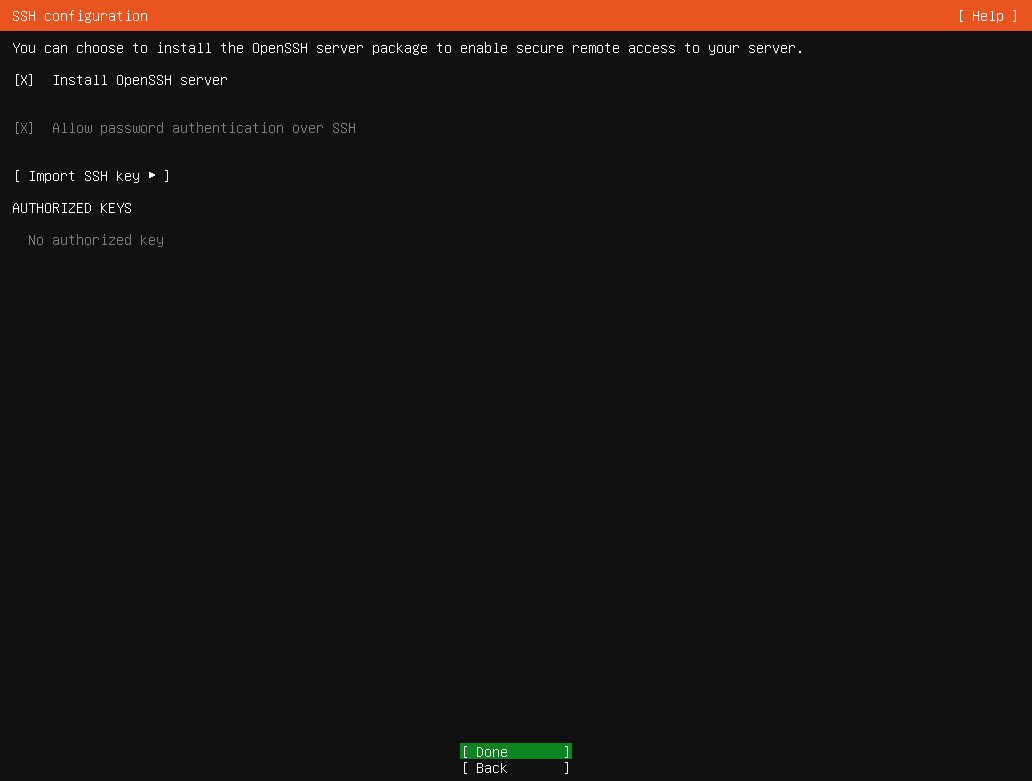
SSH allows you to securely access your server remotely.
- When prompted, select Install OpenSSH server to enable SSH.
- Press Enter to confirm.
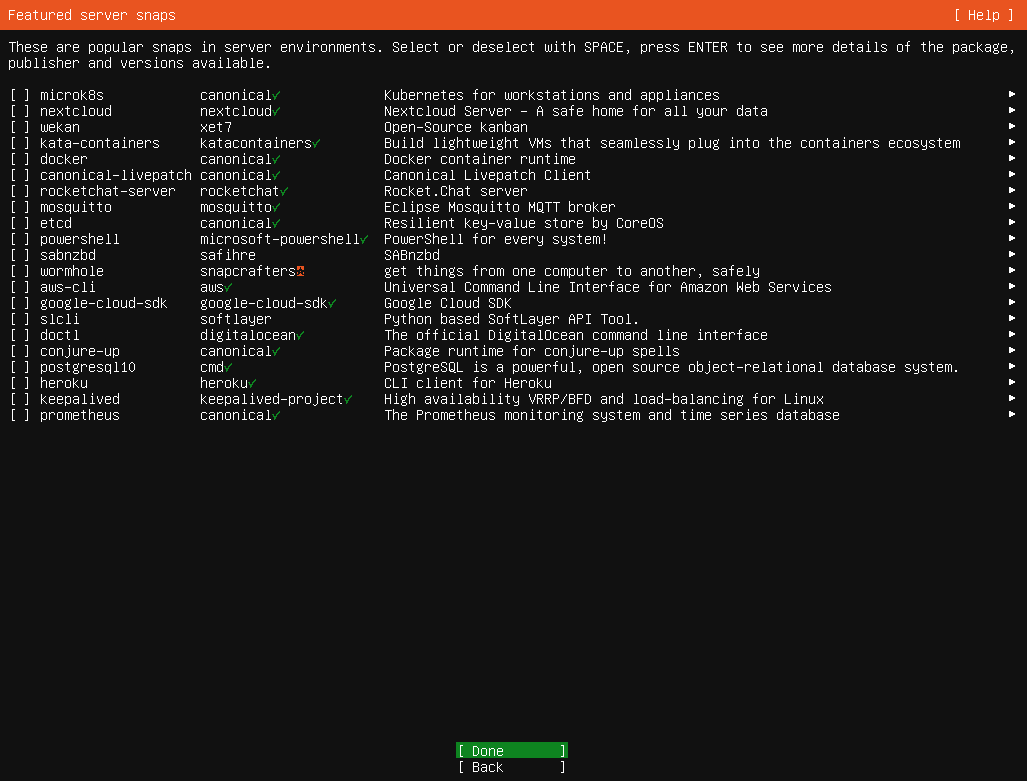
Step 9: Choose Optional Server Snaps (Optional)
Ubuntu may offer to install additional software called Snaps.
- You can skip this step if you don’t need any additional software by selecting Done.
Step 10: Complete Installation and Reboot
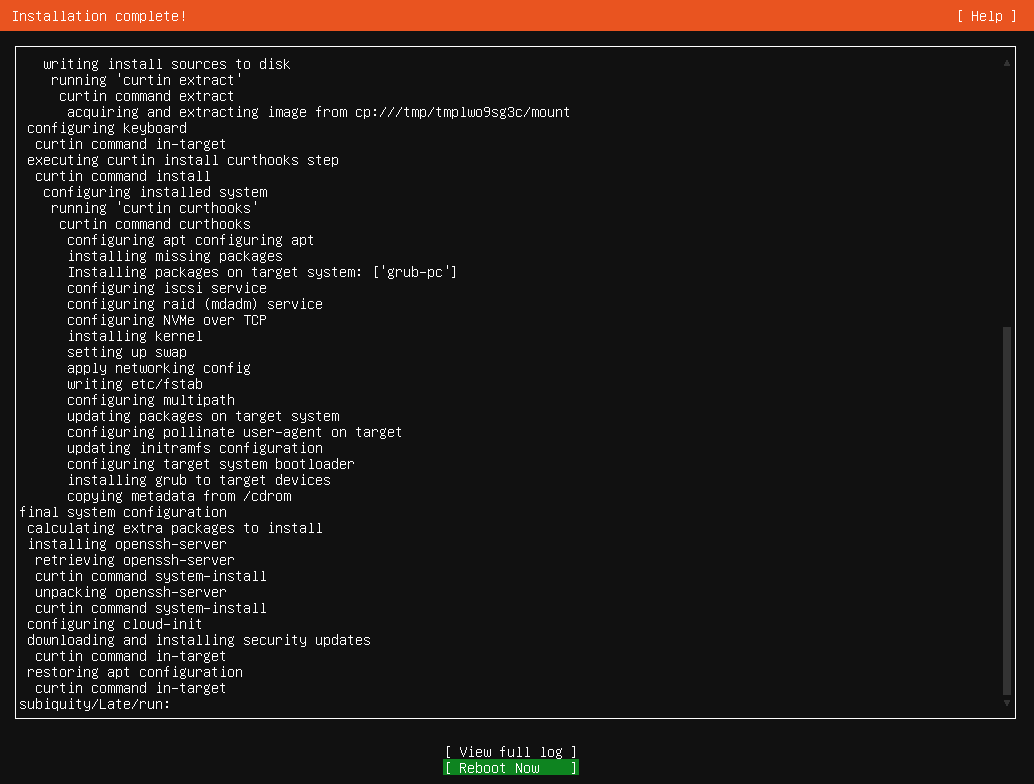
- After confirming your settings, Ubuntu will begin the installation process.
- Once complete, you’ll see a message asking you to remove the installation medium.
- Remove the USB drive, and press Enter to reboot.
Step 11: Log In and Test SSH Access
- After rebooting, you’ll be prompted to log in using the username and password you created during setup.
- To confirm SSH is working, open a terminal on another computer and type:
ssh your_username@your_server_ipReplace your_username and your_server_ip with the username and IP address of your new server. Accept the security prompt, and you should be connected.
Step 12: Update Your Server
After installation, it’s important to make sure your server has the latest updates and security patches.
- Log in to your server with the username and password you created.
- In the command line, type the following command to check for and install updates:
sudo apt update && sudo apt upgrade -y- sudo: Runs the command as a superuser (administrator).
- apt update: Refreshes the list of available packages.
- apt upgrade -y: Installs the available updates. The
-yoption automatically confirms the installation of updates.
Allow the update process to complete. This may take a few minutes depending on the number of updates.
Congratulations! Your Ubuntu Server is Ready
You’ve successfully installed Ubuntu Server 24.04 on your machine and configured it with SSH. You can now use this server for a variety of tasks like hosting applications, creating network shares, or experimenting with new software.


